Firebase GenKit with Gemma using Ollama (English)

Firebase project that uses the Gen AI Kit with Gemma using Ollama
Introduction
This is a simple example of a Firebase function that uses Genkit and Ollama to translate any test to Spanish.
This project uses the following technologies:
- Firebase Functions
- Firebase Genkit
- Ollama
This project uses the following Node.js Packages:
@genkit-ai/firebase: Genkit Firebase SDK to be able to use Genkit in Firebase Functionsgenkitx-ollama: Genkit Ollama plugin to be able to use Ollama in Genkit@genkit-ai/ai,@genkit-ai/coreand@genkit-ai/flow: Genkit AI Core SDK@genkit-ai/dotprompt: Plugin to use DotPrompt in Genkit
Setup
- Clone this repository: GitHub repository.
- Run
npm installto install the dependencies in the functions folder - Run
firebase loginto login to your Firebase account - Install genkit-cli by running
npm install -g genkit
This repo is supposed to be used with NodeJS version 20.
Run the Firebase emulator
To run the function locally, run GENKIT_ENV=dev firebase emulators:start --inspect-functions.
The emulator will be available at http://localhost:4000
Open Genkit UI
Go to the functions folder and run genkit start --attach http://localhost:3100 --port 4001 to open the Genkit UI. The UI will be available at http://localhost:4001.
 Firebase Genkit UI
Run Gemma with Ollama
You will need to install Ollama by running brew install ollama and then run ollama run gemma to start the Ollama server running the Gemma LLM.
Code explanation
The code is in the functions/index.ts file. The function is called translatorFlow and it uses the Genkit SDK to translate any given text to Spanish.
First, we have to configure the Genkit SDK with the Ollama plugin:
configureGenkit({
  plugins: [
    firebase(),
    ollama({
      models: [{ name: 'gemma' }],
      serverAddress: 'http://127.0.0.1:11434', // default ollama local address
    }),
  ],
  logLevel: "debug",
  enableTracingAndMetrics: true,
});
Then, we define the function, in the Gen AI Kit they call it Flows. A Flow is a function with some additional characteristics: they are strongly typed, streamable, locally and remotely callable, and fully observable. Firebase Genkit provides CLI and Developer UI tooling for working with flows (running, debugging, etc):
export const translatorFlow = onFlow(
  {
    name: "translatorFlow",
    inputSchema: z.object({ text: z.string() }),
    outputSchema: z.string(),
    authPolicy: noAuth(), // Not requiring authentication, but you can change this. It is highly recommended to require authentication for production use cases.
  },
  async (toTranslate) => {
    const prompt =
      `Translate this ${toTranslate.text} to Spanish. Autodetect the language.`;

    const llmResponse = await generate({
      model: 'ollama/gemma',
      prompt: prompt,
      config: {
        temperature: 1,
      },
    });

    return llmResponse.text();
  }
);
As we saw above, we use Zod to define the input and output schema of the function. We also use the generate function from the Genkit SDK to generate the translation.
We also have disabled the authentication for this function, but you can change this by changing the authPolicy property:
firebaseAuth((user) => {
  if (!user.email_verified) {
    throw new Error('Verified email required to run flow');
  }
});
For the example above you will need to import the firebaseAuth function from the @genkit-ai/firebase/auth package:
import { firebaseAuth } from '@genkit-ai/firebase/auth';
Invoke the function locally
Now you can invoke the function by running genkit flow:run translatorFlow '{"text":"hi"}' in the terminal.
You can also make a curl command by running curl -X GET -H "Content-Type: application/json" -d '{"data": { "text": "hi" }}' http://127.0.0.1:5001/<firebase-project>/<region>/translatorFlow in the terminal.
For example:
> curl -X GET -H "Content-Type: application/json" -d '{"data": { "text": "hi" }}' http://127.0.0.1:5001/action-helloworld/us-central1/translatorFlow
{"result":"Hola\n\nThe translation of \"hi\" to Spanish is \"Hola\"."}
You can also use Postman or any other tool to make a GET request to the function:
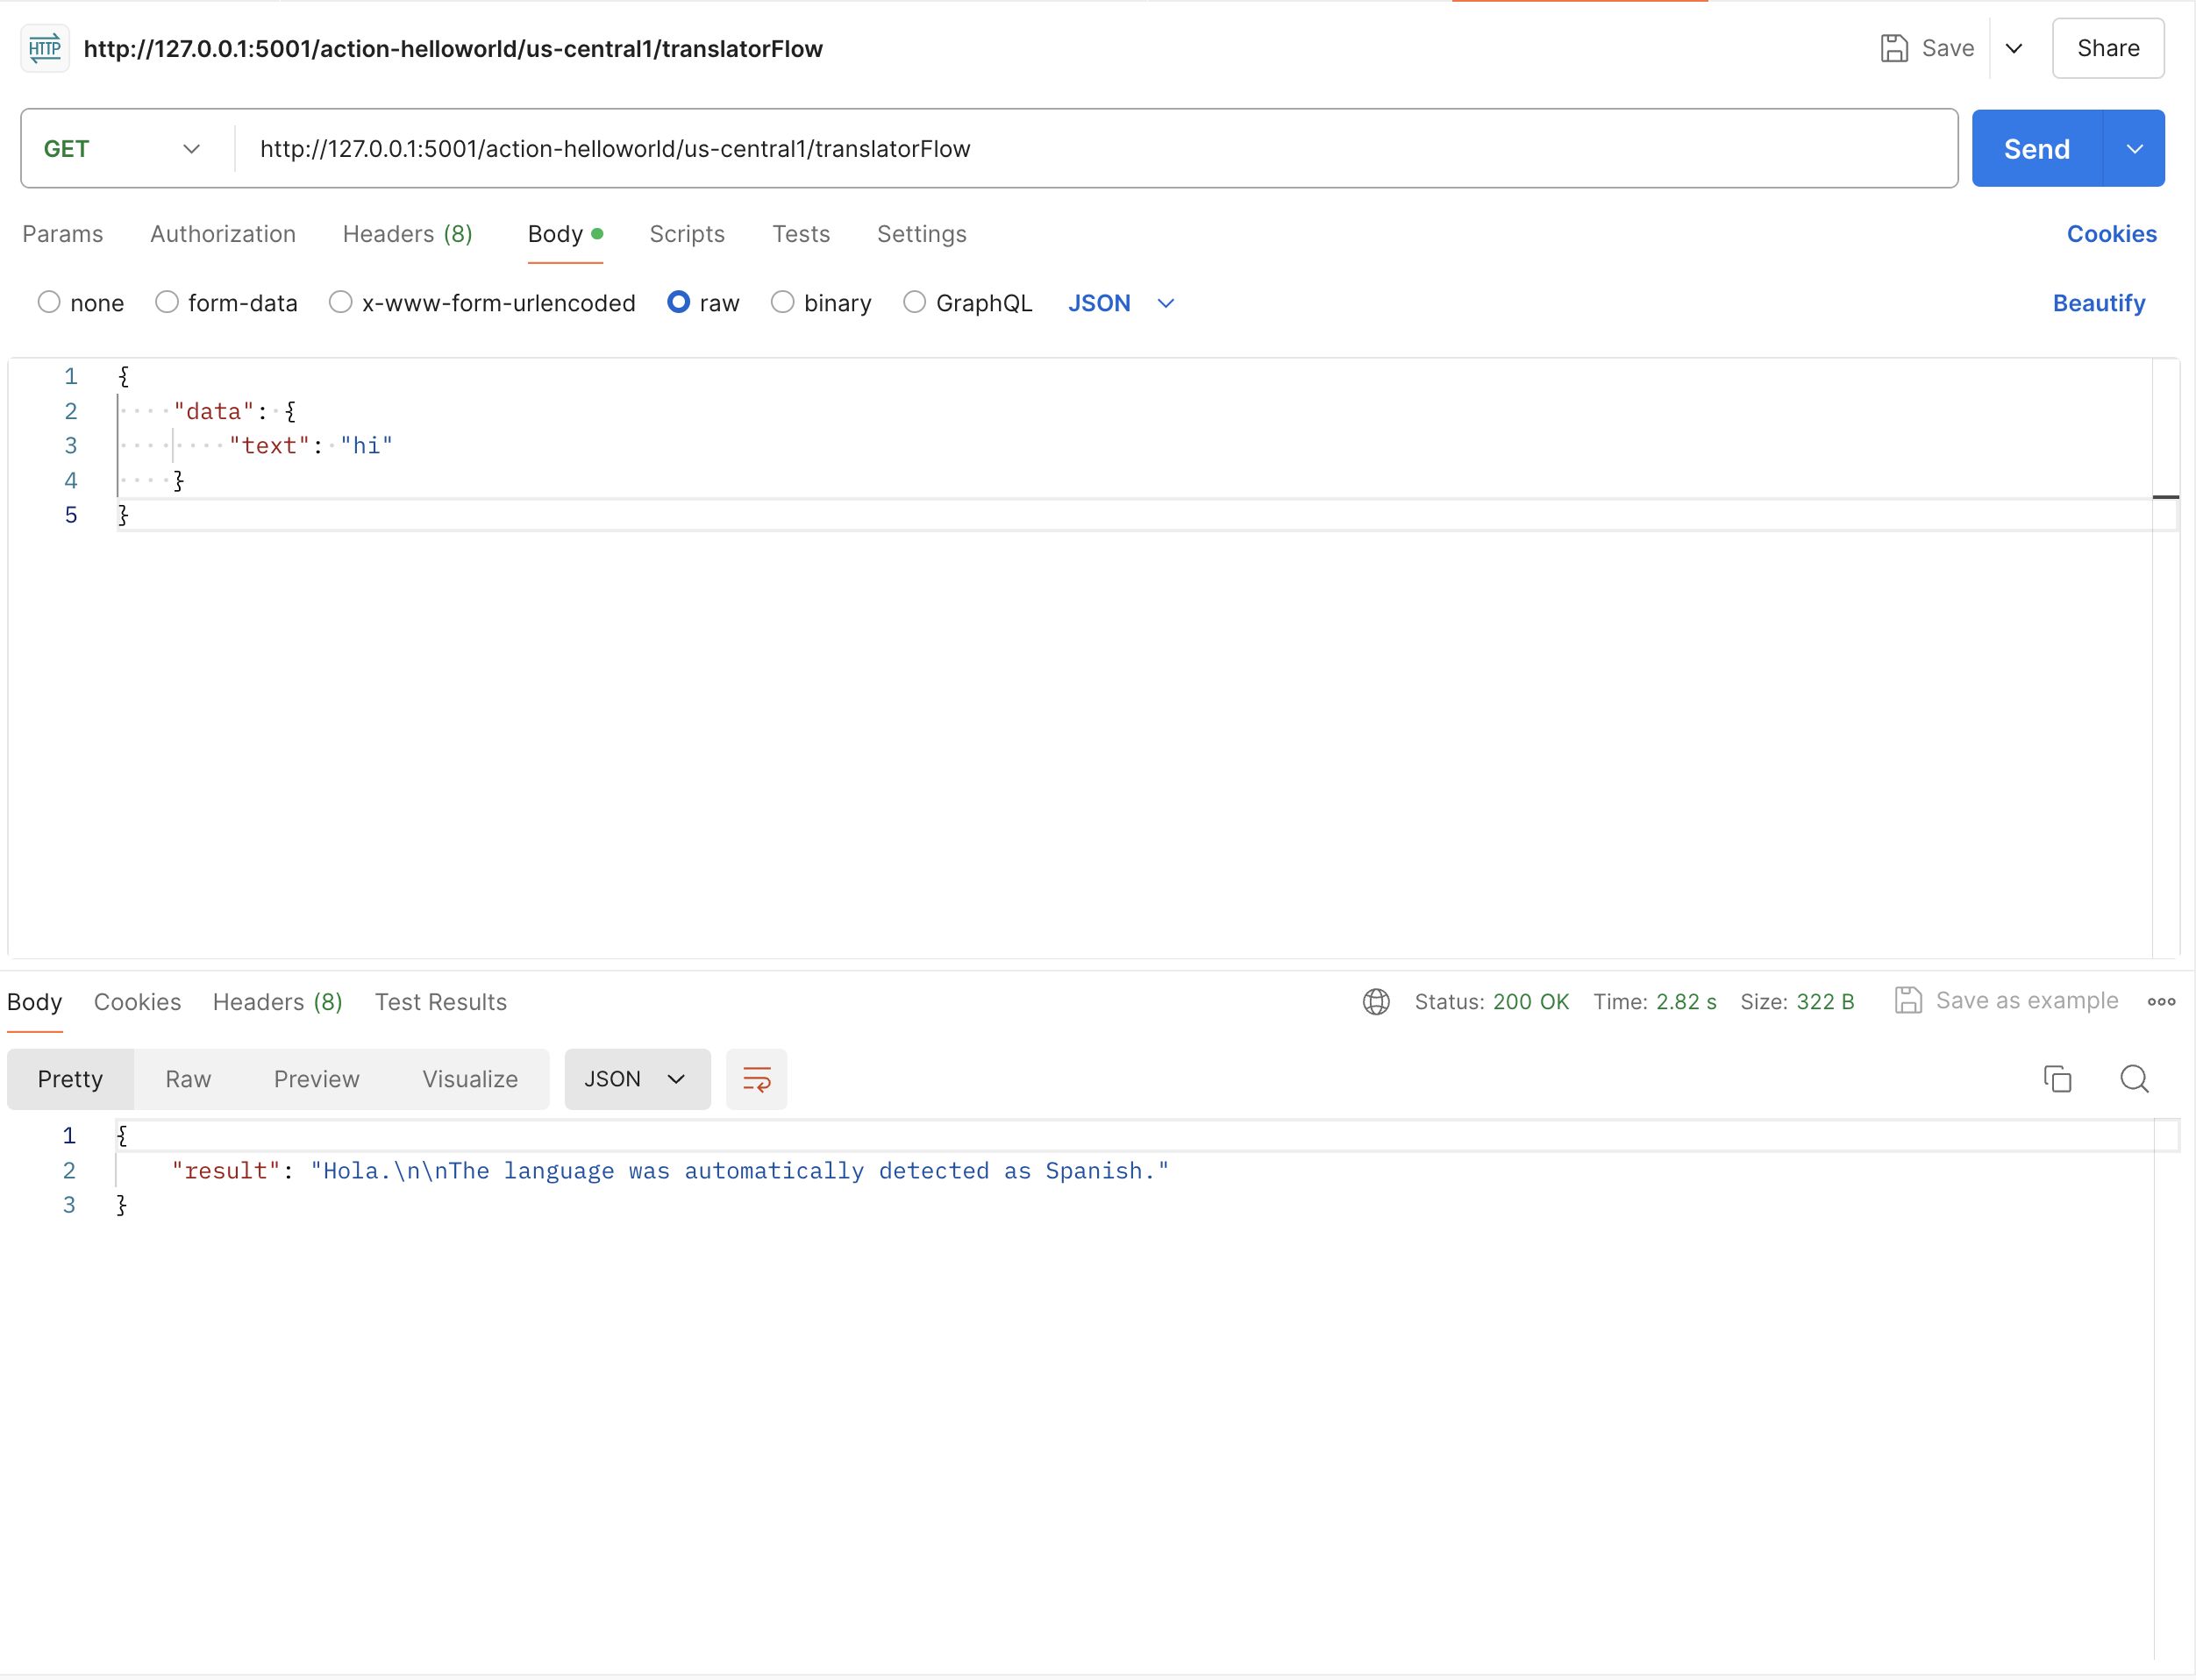 Postman Request
Deploy
To deploy the function, run firebase deploy --only functions. You will need to change the ollama URL in the function to the URL of the Ollama server.
Resources
Conclusion
As you can see, it is very easy to use Genkit and Ollama in Firebase Functions. You can use this example as a starting point to create your own functions using Genkit and Ollama.
You can find the full code of this example in the GitHub repository
Happy coding!