Dialogflow CX Agents (English)

An introduction about dialogflow CX agents and how to interact with them using the console and the CXCLI
Dialogflow CX Agents
Previous Requisites
Here are the technologies used in this project
- Google Cloud Account - Sign up here for free
- Dialogflow API enabled - How to enable it
- Dialogflow CX CLI - Install and configure Dialogflow CX CLI
What is this?
An agent in Dialogflow CX is the entity that handles all the conversations that we have defined on the Dialogflow CX console with the end users.
An agent is basically an assistant that will manage the state of each user’s conversation when the end users are interacting with the agent through text or audio in multiple channels.
Dialogflow Console
Dialogflow Console is a web interface where you can design your conversations by creating agents and within an agent, creating flows, intents, entity types, etc. On the Dialogflow Console you can create and interact easily with your agents. To do that you just need to go to the Dialogflow CX Console: https://dialogflow.cloud.google.com/cx. This is what it looks like:
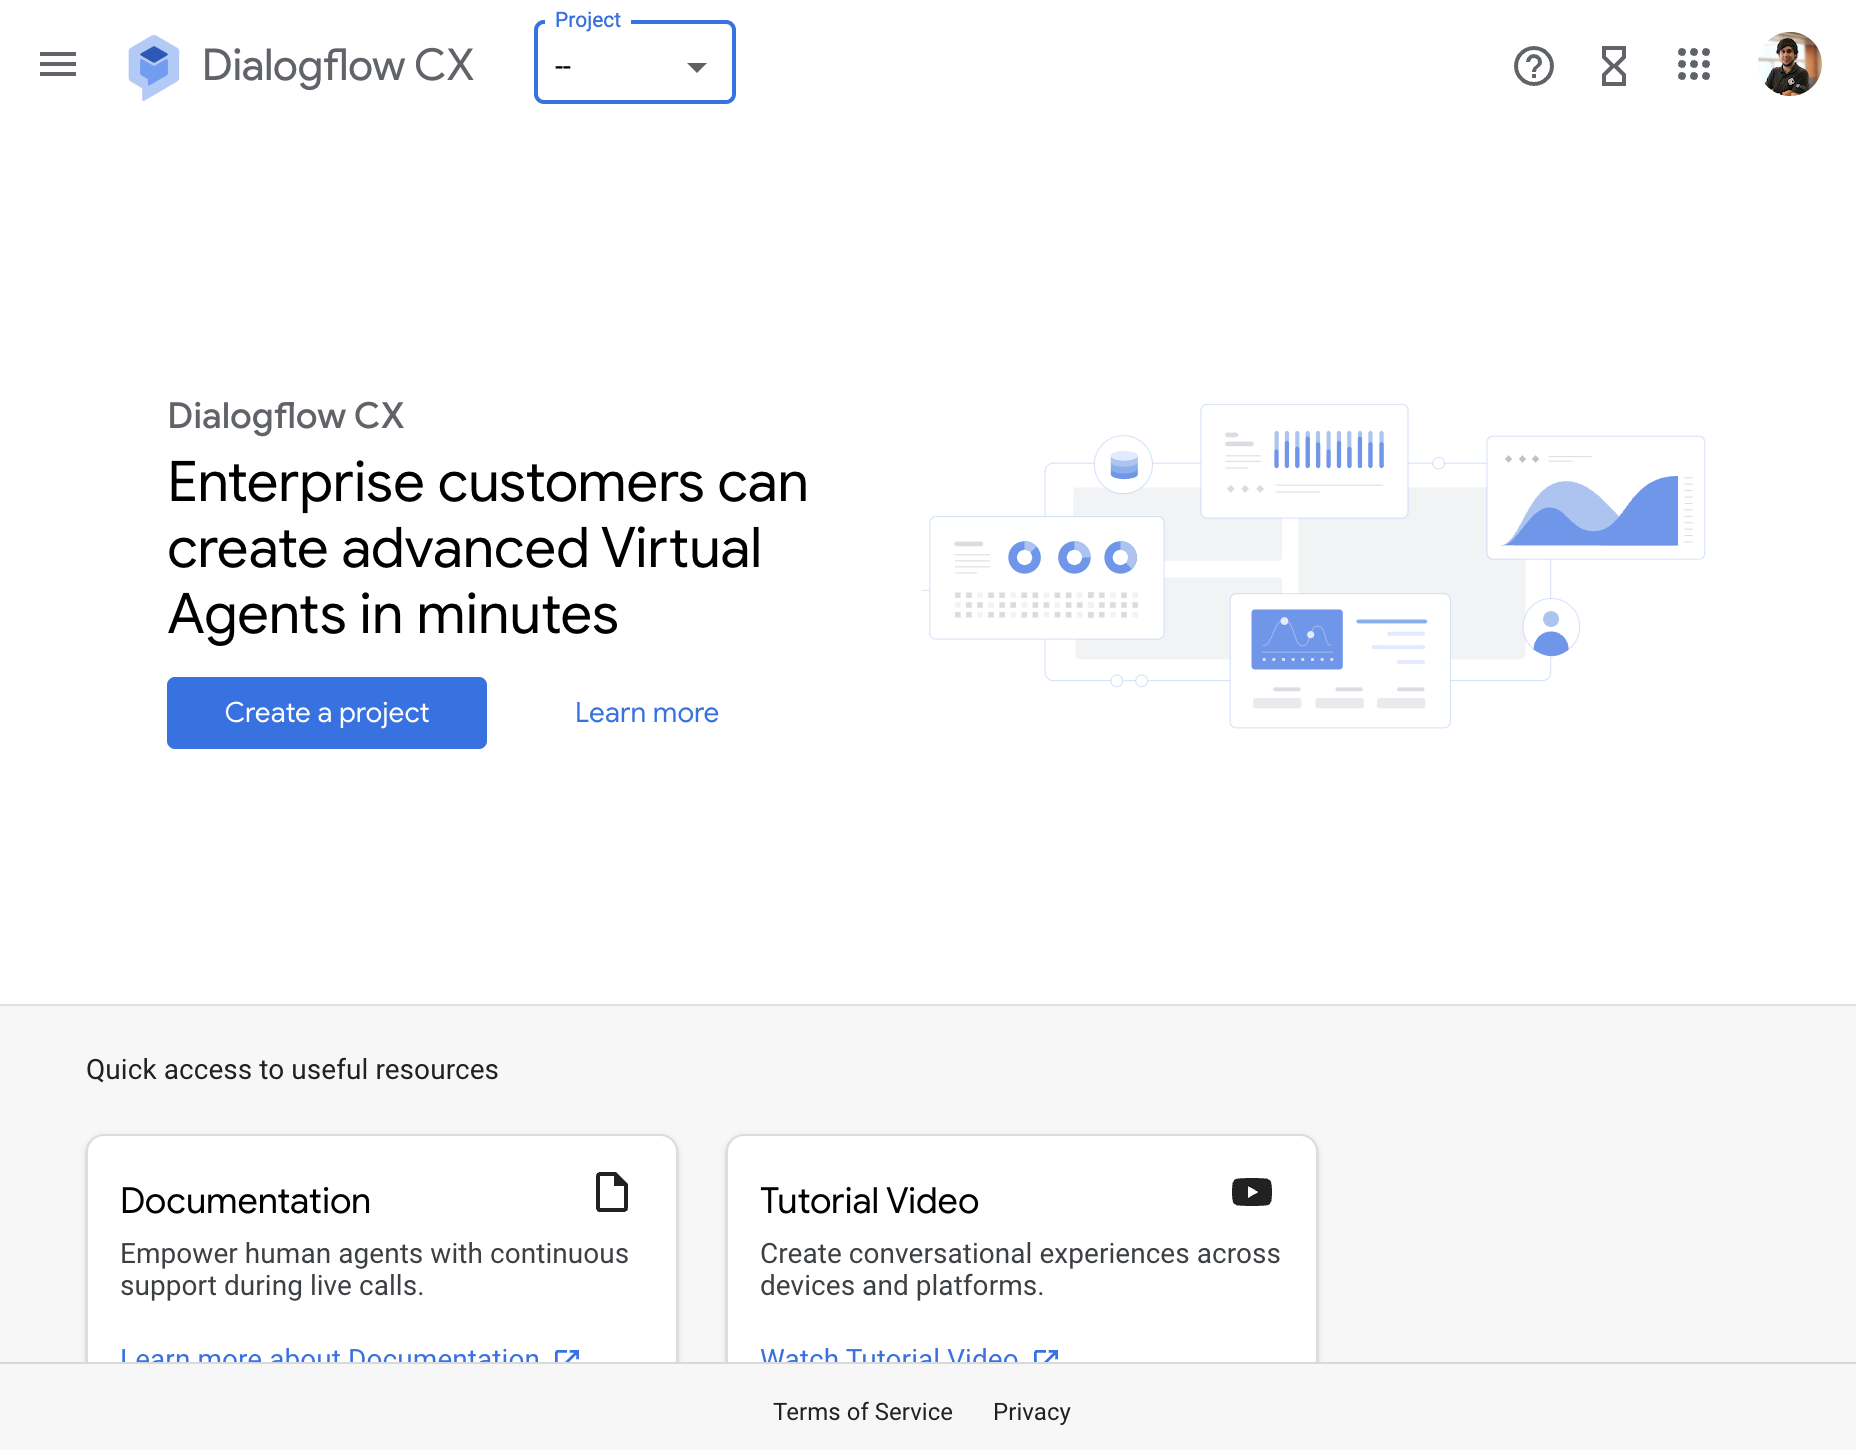 Dialogflow CX Console
Once you have created an agent, you can start building conversations! Things that you can do on the console are:
- Export an agent: in blob or
JSONformat - Delete an agent
- Conversational components like flows or pages
- Modify your NLU by creating intents and entity types
- Test your agent
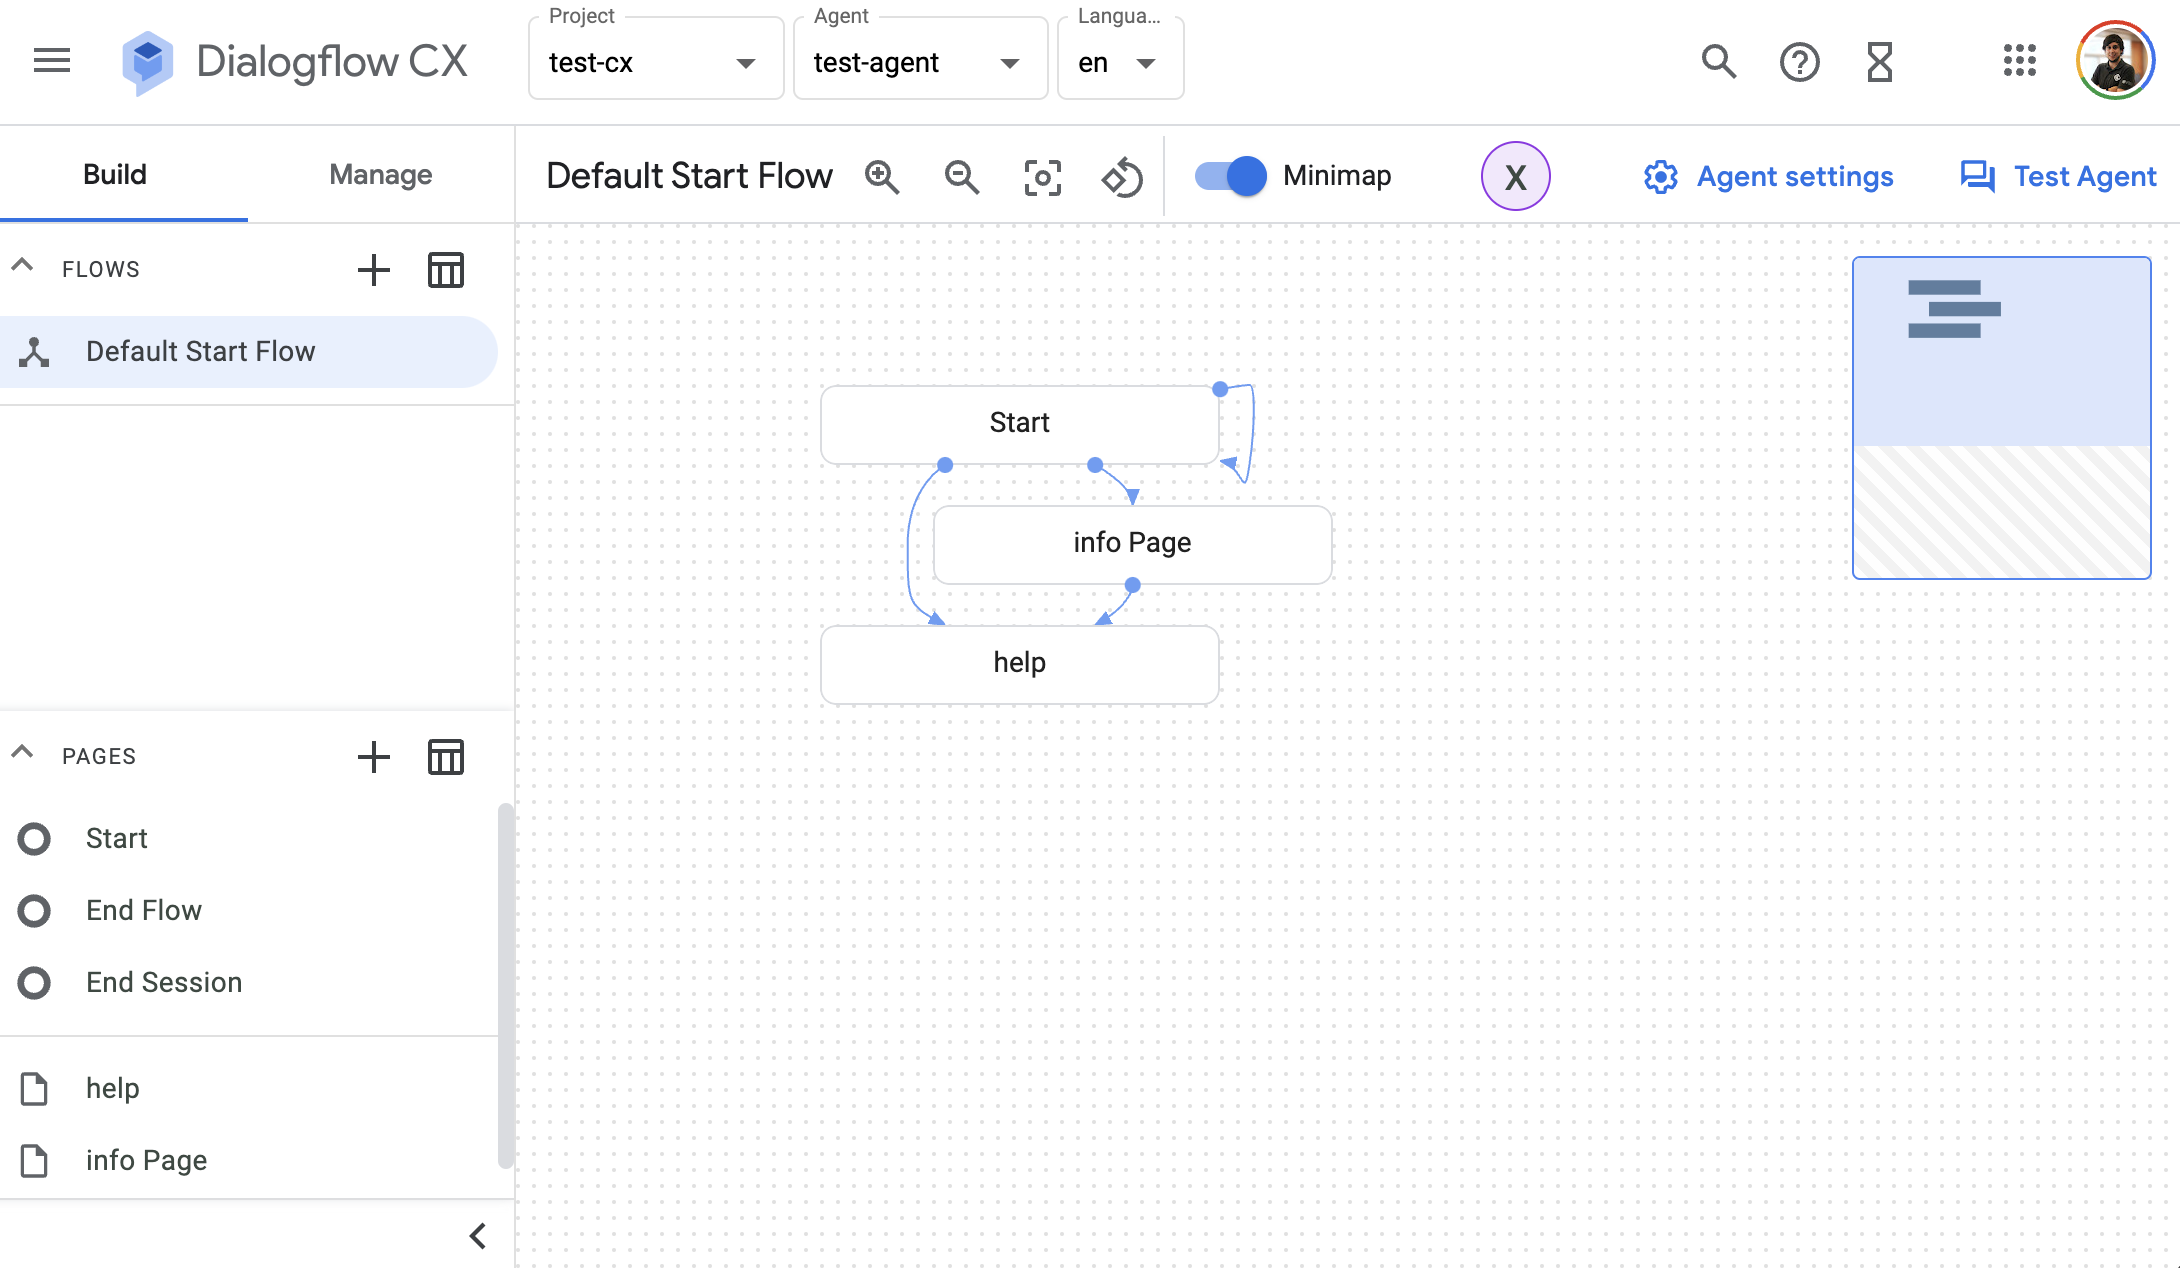 Dialogflow CX Agent
Dialogflow CX CLI
The Dialogflow CX CLI or cxcli is a Command Line Interface Tool that you can use to interact with your Dialogflow CX projects in a terminal. It is an open-source project created by Xavier Portilla Edo. With the cxcli you can interact easily with your Dialogflow CX agents.
All the commands that you have available in the cxcli to interact with your agents are located down the cxcli agent command.
Restore
You can restore an agent using a blob file. Right now the Dialogflow CX API, used by the cxcli, only works with the blob format.
The cxcli has a command that allows you to restore an agent.
This a simple example of the cxcli agent restore command:
cxcli agent restore test-agent --project-id test-cx-346408 --location-id us-central1 --input agent.blob
The command above will give you an output like this one:
$ cxcli agent restore test-agent --project-id test-cx-346408 --location-id us-central1 --input agent.blob
INFO Agent restored
Export
Also, an agent can be exported as a blob file. Right now the Dialogflow CX API, used by the cxcli, only works with the blob format.
The cxcli has a command that allows you to export your agent.
This a simple example of the cxcli agent export command:
cxcli agent export test-agent --project-id test-cx-346408 --location-id us-central1
The command above will give you an output like this one:
$ cxcli agent export test-agent --project-id test-cx-346408 --location-id us-central1
INFO Agent exported to file: agent.blob
Delete
The cxcli has a command that allows you to delete your agent.
Below you will find an example of the cxcli agent delete command:
cxcli agent delete test-agent --project-id test-cx-346408 --location-id us-central1
The command above will give you an output like this one:
$ cxcli agent delete test-agent --project-id test-cx-346408 --location-id us-central1
INFO Agent deleted
Resources
If you want to check the full usage of the cxcli agent command, please refer to this page.
If you want to learn more about Dialogflow CX agents, check the official documentation.
Conclusion
This was a basic tutorial to learn what is a Dialogflow CX Agent. As you have seen in this example, creating an agent and interacting with it either with the console or the cxcli is very easy.
I hope this tutorial will be useful to you.
That’s all folks!
Happy coding!